1 Requirement and task list
1. We require one UBUNTU system
2. Install DOCKER
3. Install DOCKER-COMPOSE
4. Create the BIZ folder to execute the docker-compose.yml file
5. Start the WhatsApp Business API Client :
6. The above file will be having the MYSQL DB, WEB APP container, and CORE APP container.
7. Verify Containers Are Running.
8. Perform a Health Check
9. Register the WhatsApp Business API Client
10. Perform a Second Health Check
First go to https://www.virtualbox.org/wiki/Downloads and download the virtualbox and install it on your computer
Now go to https://ubuntu.com/download/desktop and download this iso file for linux ubuntu
The installation part will guide you through all the necessary needs, make sure to allot minimum 3 to 4 gb of ram and a minimum 10 GB or Disk space to your virtual machine to work smoothly.
Start your virtual machine, and make sure to connect it through the internet.
Then go to your terminal and run this command
1. sudo apt install python3-venv (what is venv ?)
Virtualenv is a tool used to create an isolated Python environment. This environment has its own installation directories that doesn’t share libraries with other virtualenv environments (and optionally doesn’t access the globally installed libraries either).
2 python3 -m venv my-project-env
3 source my-project-env/bin/activate
After this all we’ll install docker in our VM.
First we are going to uninstall old versions by using below command
sudo apt-get remove docker docker-engine docker.io containerd runc
2 Now we’ll install it using the repository
1 sudo apt-get update
2 curl -fsSL https://download.docker.com/linux/ubuntu/gpg | sudo apt-key add –
(if you get any error like command curl not found make sure to install curl first using this command sudo apt-get install curl )
Then again run the above command for docker installation
- sudo apt-key fingerprint 0EBFCD88 (set the fingerprint)
- sudo add-apt-repository ”deb [arch=amd64] https://download.docker.com/linux/ubuntu $(lsb_release -cs) stable”
- sudo apt-get update
- sudo apt-get install docker-ce docker-ce-cli containerd.io
- apt-cache madison docker-ce
- sudo apt-get install docker-ce=<VERSION_STRING> docker-ce-cli=<VERSION_STRING> containerd.io
Verify that Docker Engine is installed correctly by running the hello-world image.
- sudo docker run hello-world
IF DOCKER DEAMON IS NOT RUNNINGIN YOUR MACHINE, THEN PLEASE FOLLOW THE
BELOW STEPS :
- sudo groupadd docker
- sudo usermod -aG docker $USER
- newgrp docker
- docker run hello-world
- Reboot
3. Install DOCKER-COMPOSE :
First un-install the old versions of Docker-Compose
sudo rm /usr/local/bin/docker-composr
(or)
pip uninstall docker-compose
Run this command to download the current stable release of Docker Compose
- sudo curl -L “https://github.com/docker/compose/releases/download/1.27.4/docker-compose-$(uname -s)-$(uname -m)” -o
- /usr/local/bin/docker-compose
- sudo chmod +x /usr/local/bin/docker-compose
- sudo ln -s /usr/local/bin/docker-compose /usr/bin/docker-compose
- docker-compose –version
Check docker version after restart by docker version
also check docker-compose version
now to go to this website
and follow the Initial Setup of the WhatsApp Business API Client
Step 1 create a biz directory/folder for the setup
mkdir ~/biz;
cd ~/biz
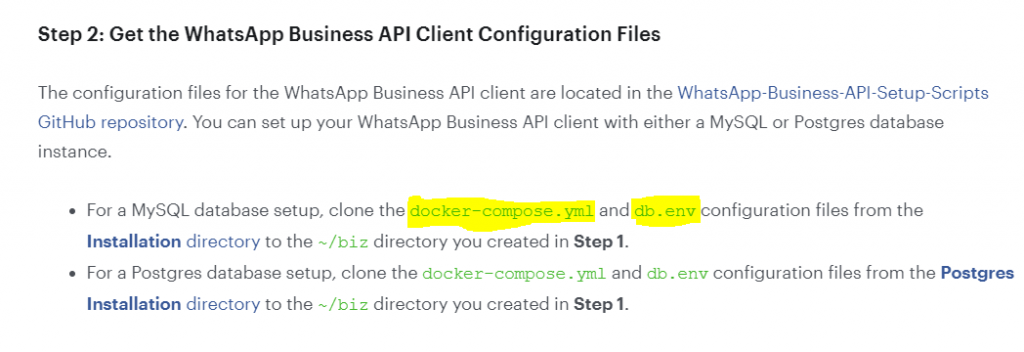
click on docker-compose.yml and copy the entire text from the document and create a text file inside your biz folder and paste it then save it as docker-compose.yml
same with the db.env, this time name it as db.env
check the latest version of whatsapp business api
run these commands inside your biz folder
export WA_API_VERSION=”2.31.5″
docker-compose up -d
now you can see or check the changes in the files inside your biz folder (whatsapp version or mysql codes)
docker-compose ps (By default, the web app container will be running on port 9090 and the database container will be running on port 33060)
now it’s time for the health check first you need to download postman (recommended using terminal version)

Click on Link and clone the project on your computer and (if downloaded zip extract it anywhere )
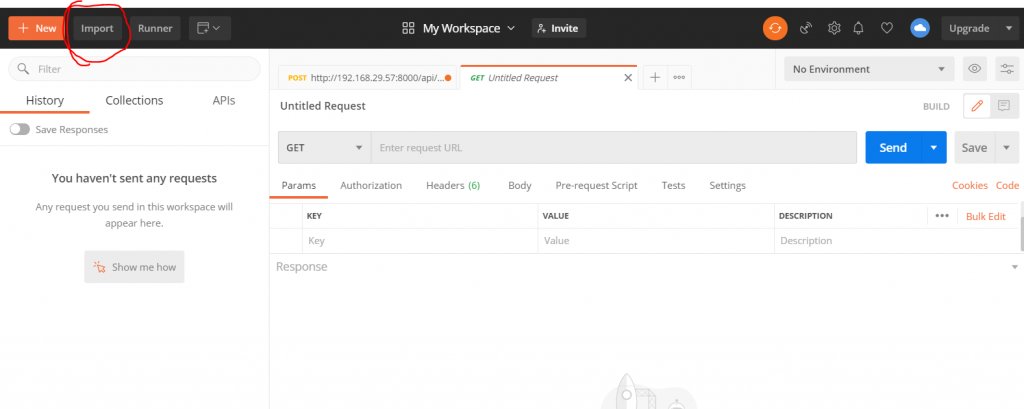
now open your postman and click on the import tab and upload the collection.json and environment.json from the WhatsApp-Business-API-Postman-Collection which you just clone or downloaded from Github
follow the guide in this url https://developers.facebook.com/docs/whatsapp/guides/postman
make sure to turn off the ssl certification off
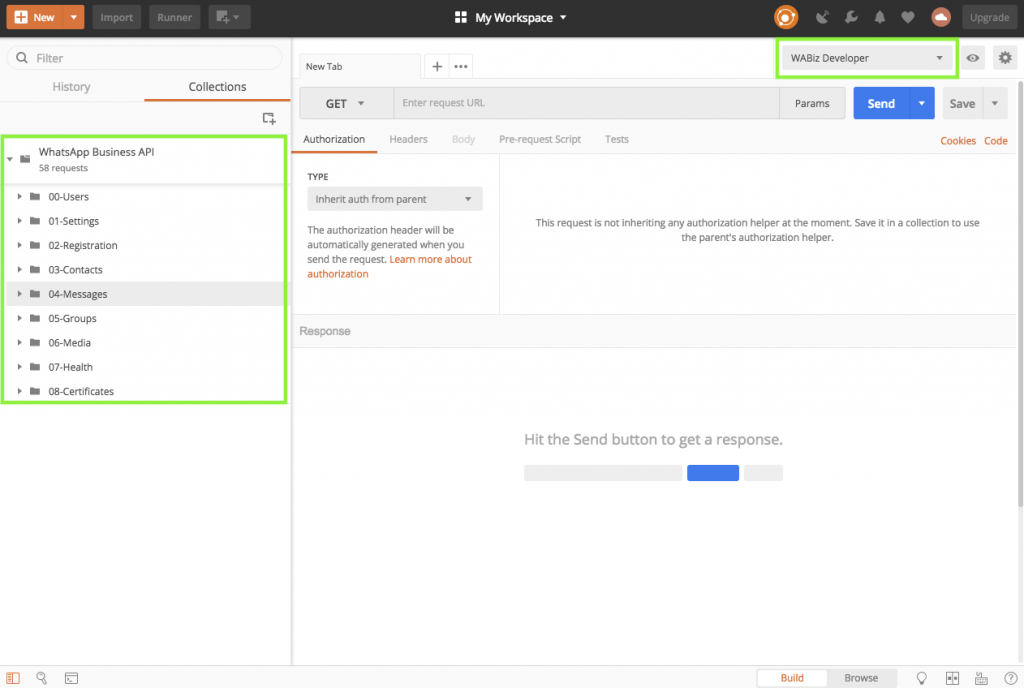
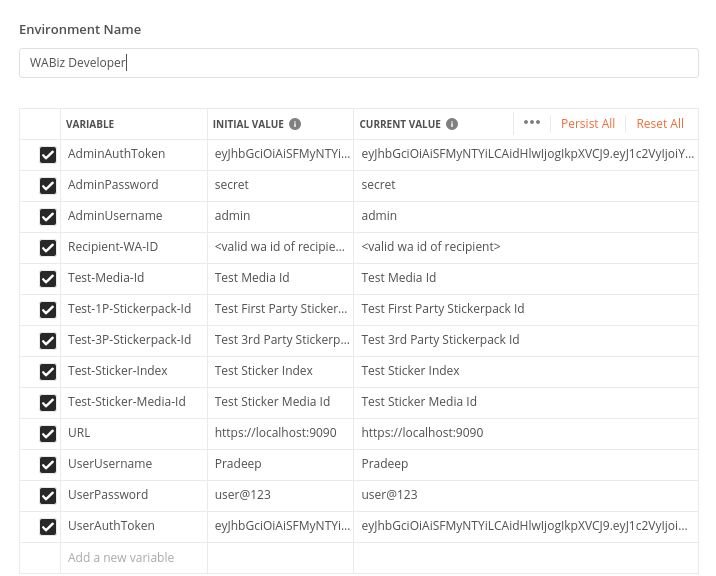
Now you need to edit the environment variable by clicking on the eye button on the right upper corner
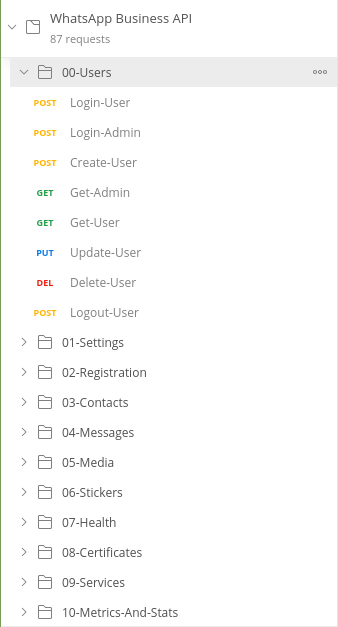
In the Environment Variable tab
Change the adminusername to admin admin
And AdminPassword to secret secret
Now login As admin by passing a <newpassword> in the request body
Get the access token and set it on the environment variable
Now create a user and set a password in the request body
Get the access token and set it on the environment variable
————————————– Wait for the Second Part ————————————-